
To set up AT&T call forwarding on a wireless line, dial 21, then the full 10-digit destination number, then #, and wait at least 3 seconds for the confirmation tone before ending the call. If you hang up before that tone, you haven't finished the setup, even if the code looked right on screen.
You're probably doing this between other tasks. A client calls while you're already talking to someone else, or you're heading into meetings and don't want an important call to sit in voicemail until tonight. The setup itself takes less than a minute, but picking the wrong forwarding type, or using the wrong code for your line, can send calls somewhere you never intended. The steps below separate the fast path from the decisions that deserve a little more care.
Table of Contents
- How to Set Up AT&T Call Forwarding Step by Step
- Choose the Right Forwarding Type and What It Changes
- Setup Paths by Device and Line Type
- Test Forwarding With Three Calls
- Fix Forwarding That Fails or Sticks
- Decide Whether to Keep Forwarding On
How to Set Up AT&T Call Forwarding Step by Step
Start with the service type, not the code. The fastest path here is unconditional forwarding on an AT&T wireless or Wireless Home Phone line, where every incoming call goes straight to another number. If you're on a different kind of AT&T service, such as Home Phone, don't use this sequence and hope. Check your line first.
The star code sequence
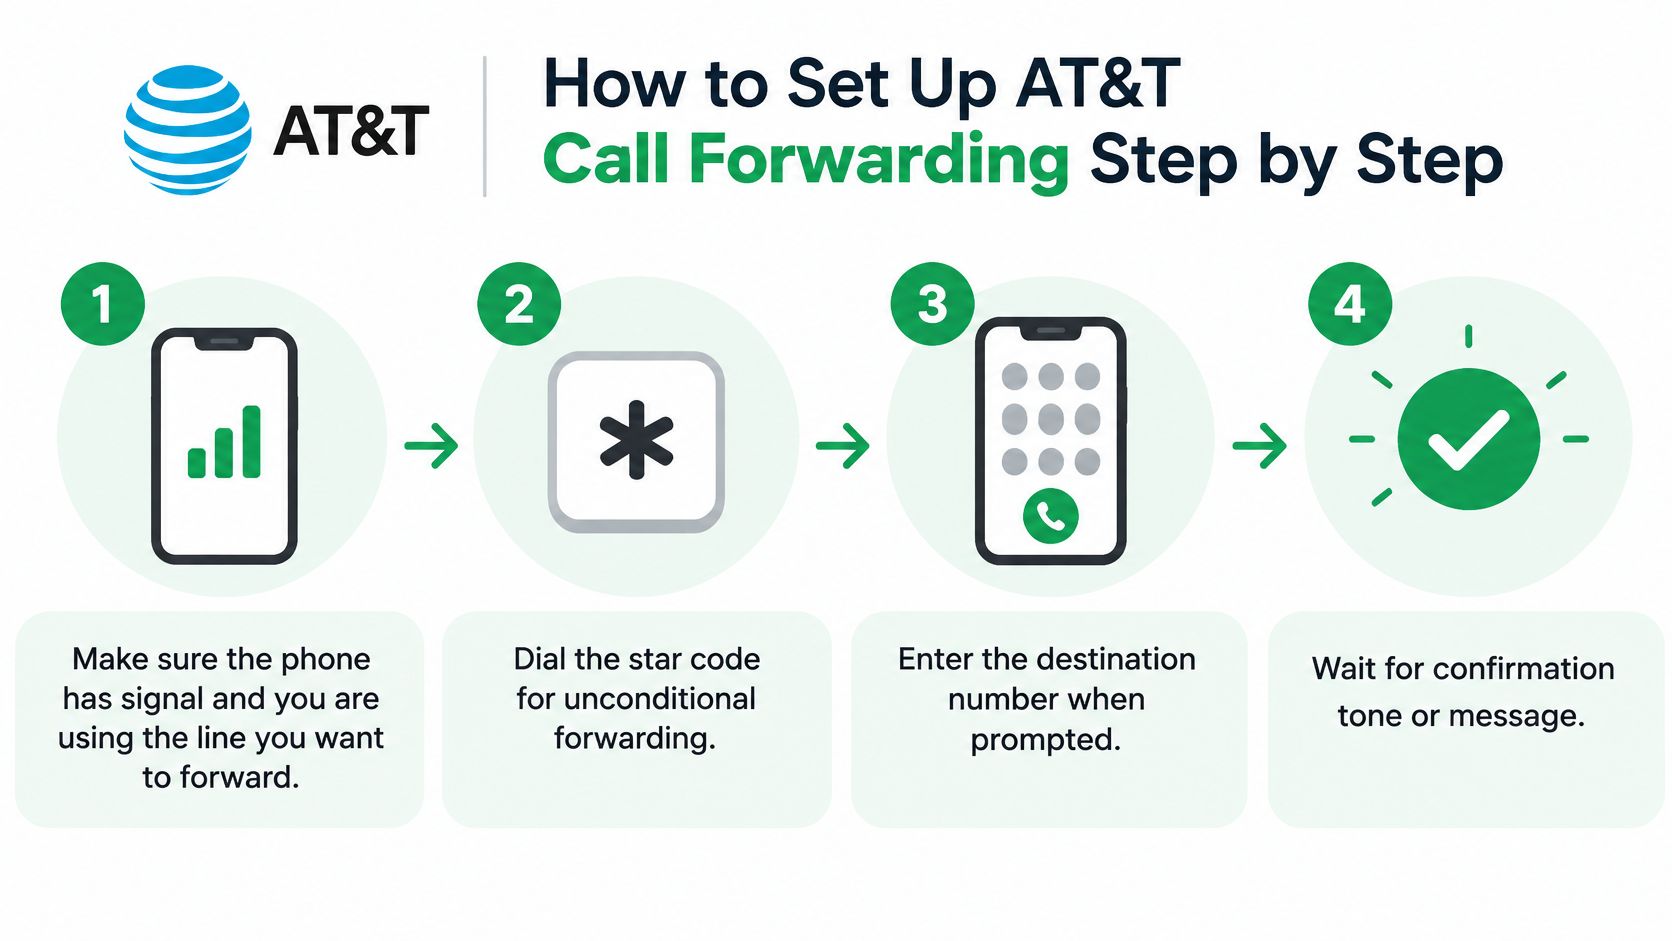
The AT&T device support procedure for wireless forwarding shows the customer enters 21, followed by the complete 10-digit destination number, and then presses #, with *21* 1234567890# given as the example that forwards calls to 123-456-7890. Do it one step at a time:
- Check your signal: Make sure the phone has signal and you're using the line you want to forward.
- Dial the code: Enter 21.
- Add the destination: Type the full 10-digit number, area code included, with no spaces or dashes needed.
- Press #: This closes the sequence and sends it to the network.
- Wait for the tone: Stay on the line for at least 3 seconds until you hear the confirmation tone.
- Make a test call: Call your AT&T number from a separate phone and confirm the destination rings.
That waiting step isn't polite padding. The tone is the carrier telling you the routing change was accepted. Because forwarding happens at the carrier-network level, not just inside your handset, your phone can't confirm success on its own. No tone means you should treat the setup as unfinished.
To turn forwarding off, dial #21# and wait at least 3 seconds again for confirmation. Then test once more from another phone. Your own handset should ring normally, and the destination shouldn't.
The two errors behind most failures
The first is entering a local-format number without the area code. If the destination isn't a complete 10-digit number, the network has nowhere reliable to send the call. The second is hanging up too early. People dial carefully, then end the call out of habit the moment they press #, before the carrier answers back.
If you didn't hear the tone, don't assume it worked. Redial the full sequence slowly and stay on the line.
If you want a second walkthrough to compare against while you dial, these call forwarding setup steps from Gini Help lay out the general process in plain order. One last caution before you rely on this in an AT&T call forwarding setup. Home Phone and Wireless Internet devices use their own codes, so the sequence here isn't universal across every AT&T product.
Choose the Right Forwarding Type and What It Changes
Forwarding isn't one switch. It's a family of options, and each one answers a different question. Do you want every call moved, or only the calls you can't take? That choice changes whether your phone rings, where voicemail lands, and how much normal behavior you keep.
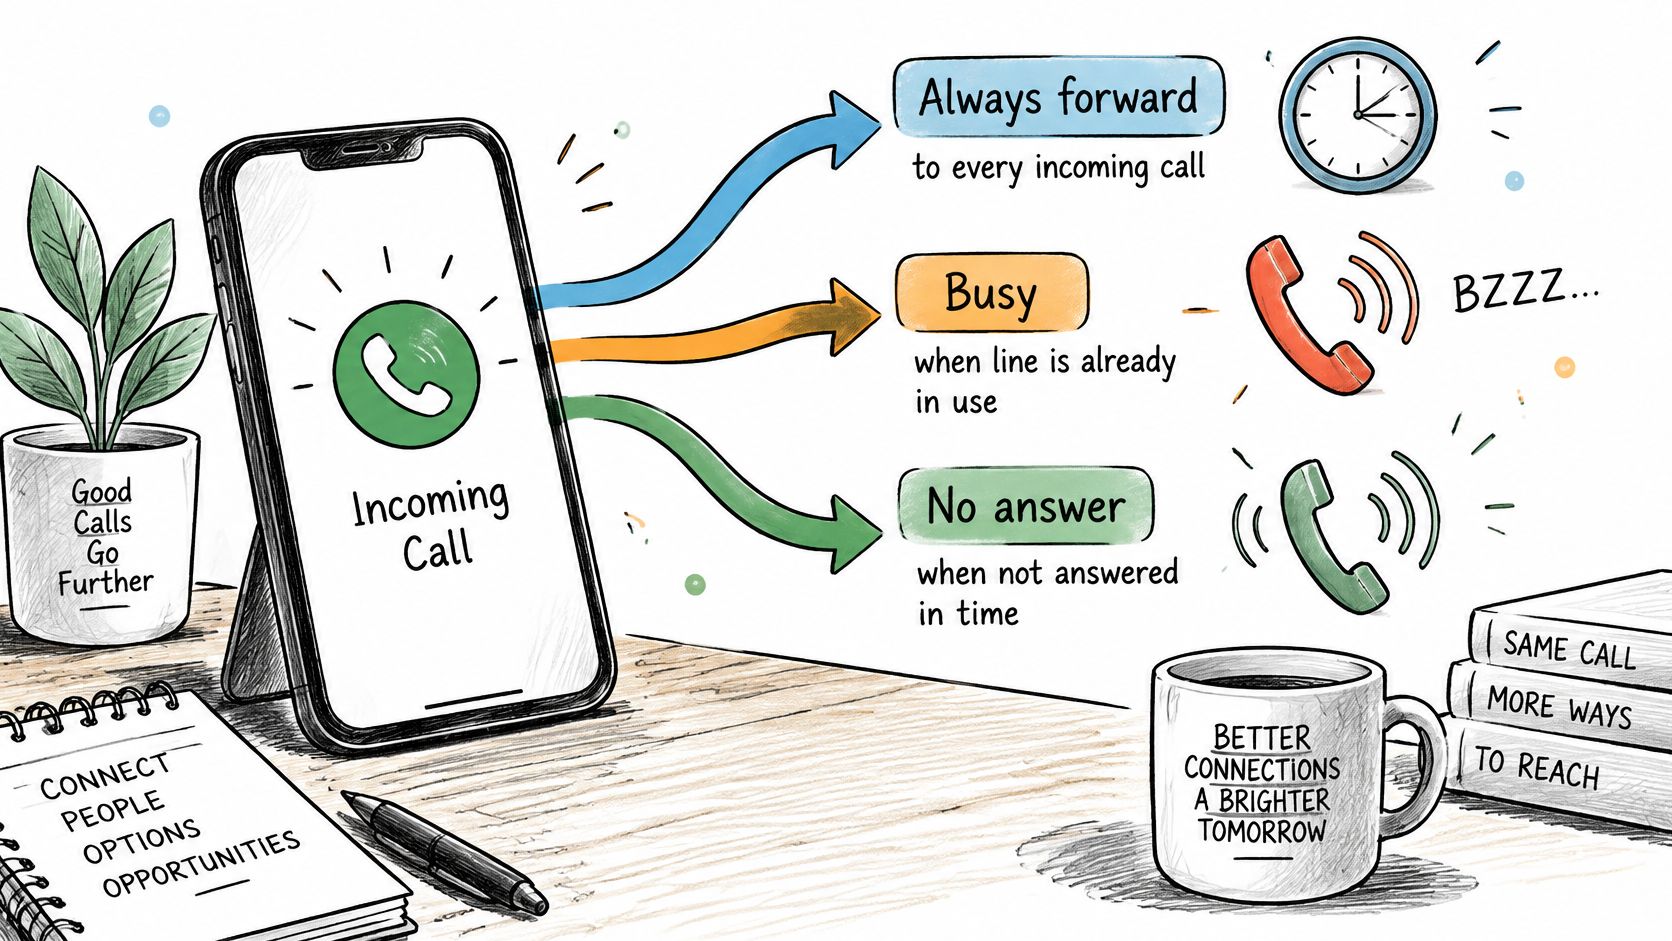
The AT&T home phone and small business calling guide identifies Busy Call Forwarding for when the line is occupied, No Answer Call Forwarding after a configured number of rings, Safe Call Forwarding during certain service or power disruptions, and Exclusive Call Forwarding for selected contacts. That same documentation states Exclusive Call Forwarding can include up to 20 selected telephone numbers, and its no-answer timing scale runs through 12, 18, 24, 30, 36, 42, 48, 54, or 60 seconds.
AT&T forwarding types and when each fits
| Option | Triggers when | Best for | Main risk |
|---|---|---|---|
| Always forward (unconditional) | Every incoming call | Never missing a client call | Your phone never rings for incoming calls |
| Busy | The line is already in use | Answering live when free, backup when occupied | Calls only forward when the line is busy |
| No answer | Call is not answered within the set time (12 to 60 seconds) | Answering when you can, backup when you cannot | The timer setting decides the outcome |
| Exclusive | Calls from selected contacts (up to 20 numbers) | Routing key clients to you | Everyone else goes to voicemail |
| Safe | Service or power disruption | Backup coverage during outages | Only activates during disruptions |
Use the narrowest option that covers your worst case. Say your worst case is a client calling during a busy afternoon while you're mid-conversation with someone else. Busy or No answer forwarding covers that, and you still answer personally whenever you're free. Say instead that you can't touch your phone at all today and a colleague must catch everything. That's when Always forward earns its place.
This short video walks through where those options appear on a phone, which helps if the labels on your handset don't quite match the terms in the table.
What forwarding changes besides ringing
The AT&T wireless support page on forwarding and voicemail states that wireless forwarding overrides wireless voicemail, while outgoing calls can still be made from the original phone, and that some plans also do not count forwarded minutes against included minutes. Each of those points surprises people.
With unconditional forwarding, callers don't reach your mailbox because they never reach your phone. They reach the destination, and if nobody answers there, they get that number's voicemail or nothing. So check what happens at the destination when it's busy or unattended, not just that it rings once during your test.
Conditional modes behave more gently. A call that never meets the condition follows your normal path, which usually means your own voicemail. A call that does meet it, because you're busy or you didn't pick up in time, goes to the destination instead. That's why conditional forwarding suits mortgage brokers, advisers, and mobile salespeople who want to answer personally when available but need backup when they're not.
Outgoing calls are unaffected under every mode. You can still call clients from your original phone as normal, which matters if you worried that forwarding turned your handset into a dead end. It doesn't.
Minutes deserve one check before you assume forwarding is free. Some plans don't count forwarded minutes against included minutes, but that wording means others may. Look at your specific plan rather than trusting that forwarded calls cost nothing.
If you're weighing these choices against other routing approaches, this overview of different call forwarding options and how they compare is a useful next read. One practical note to finish. Conditional modes are set in your handset's carrier call settings, not with the star code used for unconditional forwarding, so don't keep redialing that code expecting a Busy option to appear.
Setup Paths by Device and Line Type
A client calls your usual AT&T number, but the right forwarding steps depend on which line receives that call. Start by identifying the device or service you're setting up. A code that works on one AT&T line may not apply to another.
Setup method by device and line type
| Line or device | How to set forwarding | Key detail |
|---|---|---|
| iPhone on AT&T wireless | Use the iPhone's call forwarding settings or an AT&T forwarding code | Check for a forwarding indicator after setup |
| Android on AT&T wireless | Open carrier call settings and select the correct SIM | Settings may offer always, busy, unanswered, and unreachable modes |
| AT&T Wireless Internet device | Follow the device's star-code workflow | Wait for the confirmation tone before ending the session |
| AT&T Home Phone | Follow the forwarding instructions for the specific Home Phone service | The activation sequence can differ by service |
On an iPhone with AT&T wireless, use the phone's call forwarding settings or the applicable AT&T code. Some supported devices display a forwarding indicator when the setting is active. Check for it before relying on the setup.
On Android, open the carrier call settings and select the SIM tied to the number you want to forward. Depending on the phone and line, you may see separate settings for always, busy, unanswered, or unreachable calls. On a dual-SIM phone, each SIM has its own settings. Selecting the wrong one can leave the intended line unchanged.
Check the SIM first: On a dual-SIM Android phone, confirm which line you're editing before changing its forwarding settings.
Wireless Internet devices use their own star-code workflow. Wait for the confirmation tone before ending the session. For AT&T Home Phone, check the instructions for your specific service rather than assuming a wireless code or sequence applies.
If you're forwarding calls between handsets, this guide to forwarding calls to another phone explains that setup path. Keep track of the method you used so you can find the matching steps when you're ready to turn forwarding off.
Test Forwarding With Three Calls
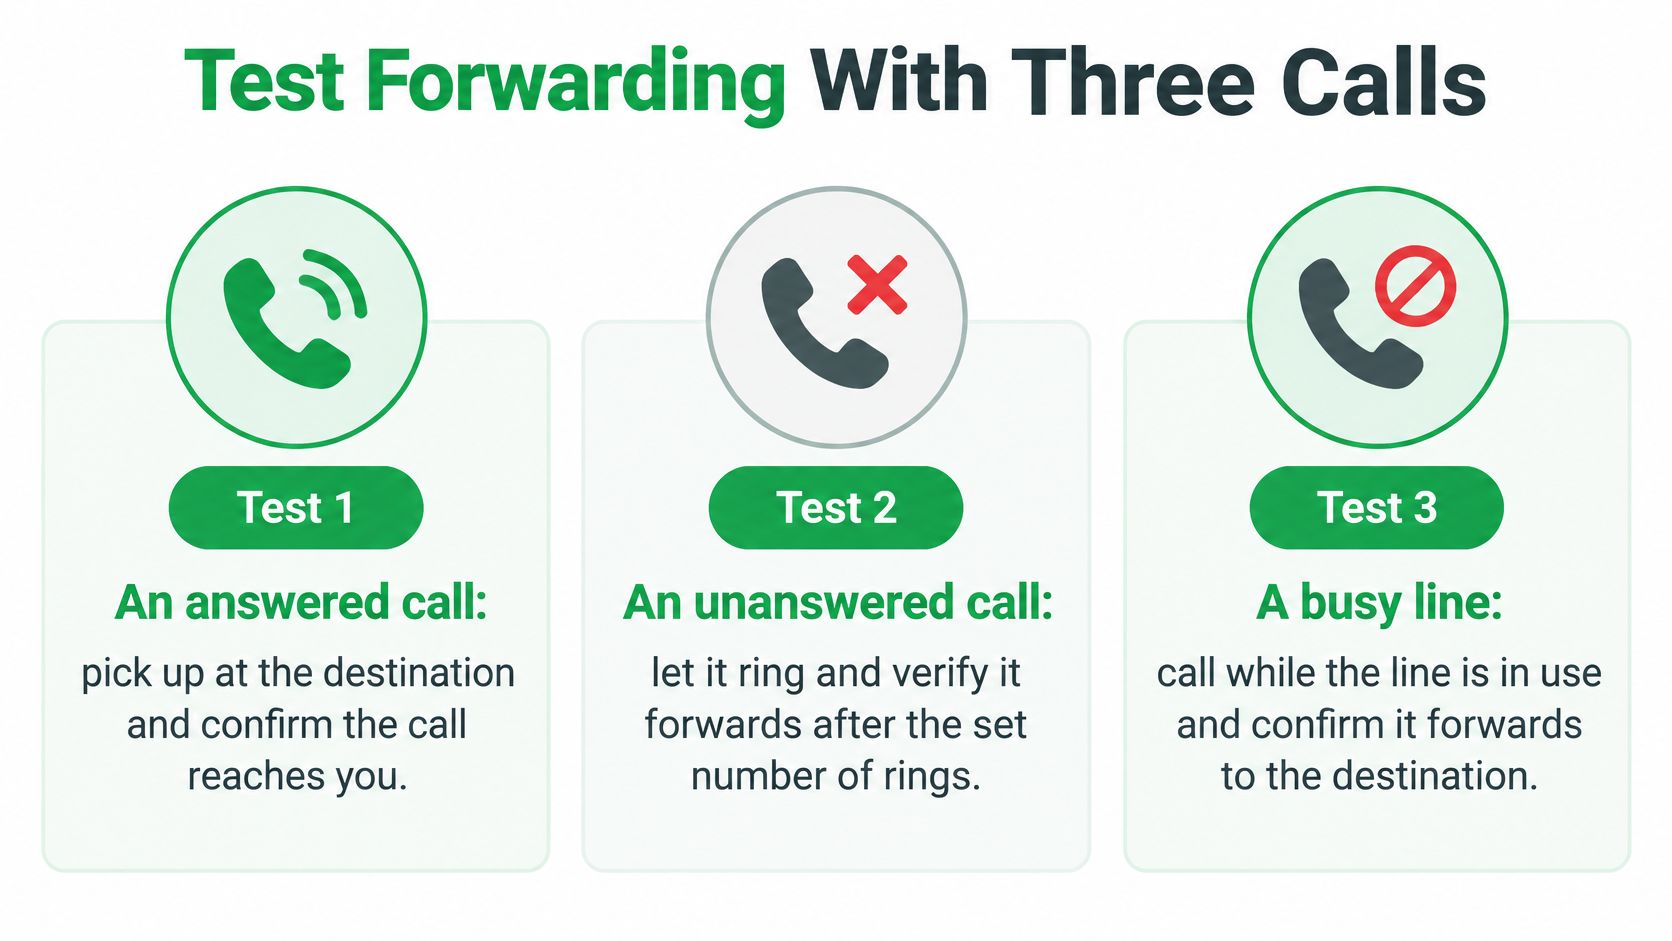
A setup you haven't tested is a guess. Borrow a second phone, one you don't normally answer, and run three calls before you depend on forwarding for a real client. Each test checks one condition, and each one gives you a result you can observe.
The three test calls
- Test 1, answered call: Call your AT&T number, pick up at the destination, and confirm you can hear and be heard clearly. This proves the basic route works.
- Test 2, unanswered call: Call again and let it ring past the no-answer point without touching anything. Confirm the destination receives it, which proves your timer behaves the way you think it does.
- Test 3, unreachable phone: Switch the original phone off or move it out of signal, then call once more. Confirm the destination still gets the call, which proves forwarding doesn't depend on your handset being reachable.
The AT&T device guidance on conditional forwarding modes separates “Always forward,” “When busy,” “When unanswered,” and “When unreachable”, and notes that only “Always forward” routes every incoming call. That's exactly why one cheerful test call isn't enough. A conditional rule can look perfect on test 1 and still leave a gap that test 3 would have caught.
Check two places after every test
Look at the destination's call record and the original phone's call history. The destination should show the incoming call. The original phone is the more revealing check. With Always forward active, it shouldn't ring at all. If it rang, forwarded, then stopped, you're probably looking at a conditional mode, not unconditional forwarding.
On supported devices, confirm the forwarding indicator is showing before you call this done. Keep a short log as you go, just the time of each test and what happened. It takes a minute and it saves real confusion if forwarding misbehaves a week from now.
Repeat all three tests after any phone, SIM, or line change. Forwarding stays on until someone turns it off, and a new device doesn't automatically mean the old rule followed you correctly.
Fix Forwarding That Fails or Sticks
A missing confirmation tone usually means the code call ended before the carrier confirmed the change. Work through the symptom first, and avoid changing several settings at once.
Forwarding symptoms, causes and fixes
| Symptom | Likely cause | Fix |
|---|---|---|
| No confirmation tone | Call ended before the carrier confirmed | Redial the code and wait at least 3 seconds |
| Activation rejected | Local-format number without area code | Enter the full 10-digit destination number |
| Calls still ring your phone | Conditional mode active, or Always forward not set | Confirm the mode, then redial the code |
| Calls go to voicemail | Destination did not answer or condition was not met | Test the destination and the condition |
| Wrong settings on Android | Wrong SIM selected | Select the correct SIM before configuring |
| Forwarding persists after device change | Rule stays on the line | Turn it off from the wireless phone with #21# |
| Cannot change a forwarding rule | Phone settings or star-code change did not work | Try changing it in the phone's call settings or with the star code. Contact AT&T support if the rule still will not change. |
Redial the code with the full destination number and wait for confirmation before ending the call. On Android phones with more than one SIM, check that the selected SIM belongs to the line you want to configure.
If forwarding remains on after a device swap, or the correct code on the correct SIM is rejected, contact AT&T support. The forwarding rule is tied to the line, so a new phone may not show the whole picture.
If the same fix fails twice, check the line type and SIM selection before trying again. Repeating the wrong setup will not make it work.
Forwarding changes may be available through phone settings or carrier codes, depending on the line and device. For an explanation of how call forwarding works at the network level, see the linked guide. After changing a rule, place a test call from another phone and confirm the result.
Decide Whether to Keep Forwarding On
Keep Always forward on only when two things are true. Clients must never reach voicemail, and someone is reliably available at the destination. If the destination is often unattended, unconditional forwarding doesn't protect your callers. It just moves the dead end.
Switch to Busy or No answer when you answer personally whenever you're free and want backup only when you're not. That's the right default for most professionals who carry their own client relationships. Choose Exclusive when a short list of key contacts must reach you while everyone else can wait in voicemail, and keep Safe in mind if outage coverage is your real concern.
Before you rely on any mode, run the three test calls, then confirm your voicemail still plays correctly from a separate phone. Write down the date you turned forwarding on so a short trip setup doesn't become permanent after a busy season.
If you're forwarding calls so they can be documented, the mechanics are simple once it's configured. Incoming calls are captured automatically, and for outgoing calls you dial from the VoxNote app while your client still sees your own number. Onboarding takes about 5 minutes, covering account creation, installing the iPhone app, and turning on forwarding by following the steps in the app. You're responsible for following the call transcription rules that apply to you and your profession, which vary from place to place, so tell callers when a call is recorded.
Choose the mode that matches your worst-case call, run the three tests, then set a monthly reminder to review the rule.
If you're forwarding your AT&T line so client calls don't slip away undocumented, VoxNote connects to your existing number through that same forwarding setup and turns each incoming and outgoing call into a transcript, a summary, and a follow-up draft. You keep the number your clients already know, and there's nothing to press during the call. Visit VoxNote to set it up and get your first call summary by email.